How to Build a Low Tunnel Greenhouse
Blog
Your Comprehensive Guide by Metate Industrial Supply
Introduction
Welcome to our comprehensive guide on how to build a low tunnel greenhouse. At Metate Industrial Supply, we believe in empowering gardeners and plant enthusiasts with the knowledge and resources they need to create efficient and effective growing environments. In this guide, you'll find step-by-step instructions, valuable tips, and everything you need to know to build your own low tunnel greenhouse.
What is a Low Tunnel Greenhouse?
A low tunnel greenhouse is a simple, cost-effective structure that provides an enclosed growing space for your plants. It consists of a series of hoops or arches made from sturdy materials such as PVC pipes or metal conduit, which are covered with a protective layer of greenhouse plastic or row cover fabric. The low profile of the structure allows for easy installation and maintenance, making it a popular choice among gardeners.
The primary purpose of a low tunnel greenhouse is to extend the growing season and provide protection to your plants from harsh weather conditions, pests, and other environmental factors. By creating a controlled microclimate, you can enjoy fresh produce and thriving plants year-round, even in regions with shorter growing seasons or unpredictable weather patterns.
Benefits of Building a Low Tunnel Greenhouse
Building a low tunnel greenhouse offers several advantages for gardeners:
- Extended Growing Season: With a low tunnel greenhouse, you can start planting earlier in the spring and continue growing your crops well into the fall or winter months.
- Protection from Extreme Weather: The greenhouse cover shields your plants from heavy rain, hail, frost, and excessive heat, ensuring they thrive in a more stable and controlled environment.
- Pest and Disease Management: By creating a physical barrier, you can effectively keep out common garden pests and reduce the risk of plant diseases, minimizing the need for chemical interventions.
- Increased Crop Yields: With a low tunnel greenhouse, you can optimize growing conditions, provide ideal temperature and humidity levels, and ultimately achieve higher yields of fruits, vegetables, and flowers.
Step-by-Step Guide to Building a Low Tunnel Greenhouse
Follow these step-by-step instructions to create your own low tunnel greenhouse:
Step 1: Choose a Suitable Location
Select a location in your garden or yard that receives ample sunlight throughout the day. Ensure there are no obstructions such as trees or buildings that may shade the area. A south-facing or southeast-facing spot is ideal for maximum sun exposure.
Step 2: Measure and Mark the Area
Determine the dimensions of your low tunnel greenhouse based on your available space and gardening needs. Use stakes and strings to mark the perimeter of the greenhouse area, ensuring it is level and evenly shaped.
Step 3: Install the Hoops or Arches
Using PVC pipes or metal conduit, create the arches for your low tunnel greenhouse. Space them out evenly along the marked area, ensuring they are securely anchored to the ground. You can secure them using stakes or by inserting the ends of the pipes into the ground.
Step 4: Attach the Greenhouse Cover
Choose a durable greenhouse plastic or row cover fabric that is designed to withstand outdoor conditions. Securely attach the cover to the hoops or arches, making sure it is taut and free from any wrinkles or gaps. You can use clips, clamps, or specialized greenhouse fasteners for this purpose.
Step 5: Ventilation and Access
It's important to provide proper ventilation to prevent overheating and maintain air circulation within the low tunnel greenhouse. Consider installing vents or flaps that can be opened or closed as needed. Additionally, create an access point such as a doorway, allowing you to easily enter and tend to your plants.
Step 6: Prepare the Soil
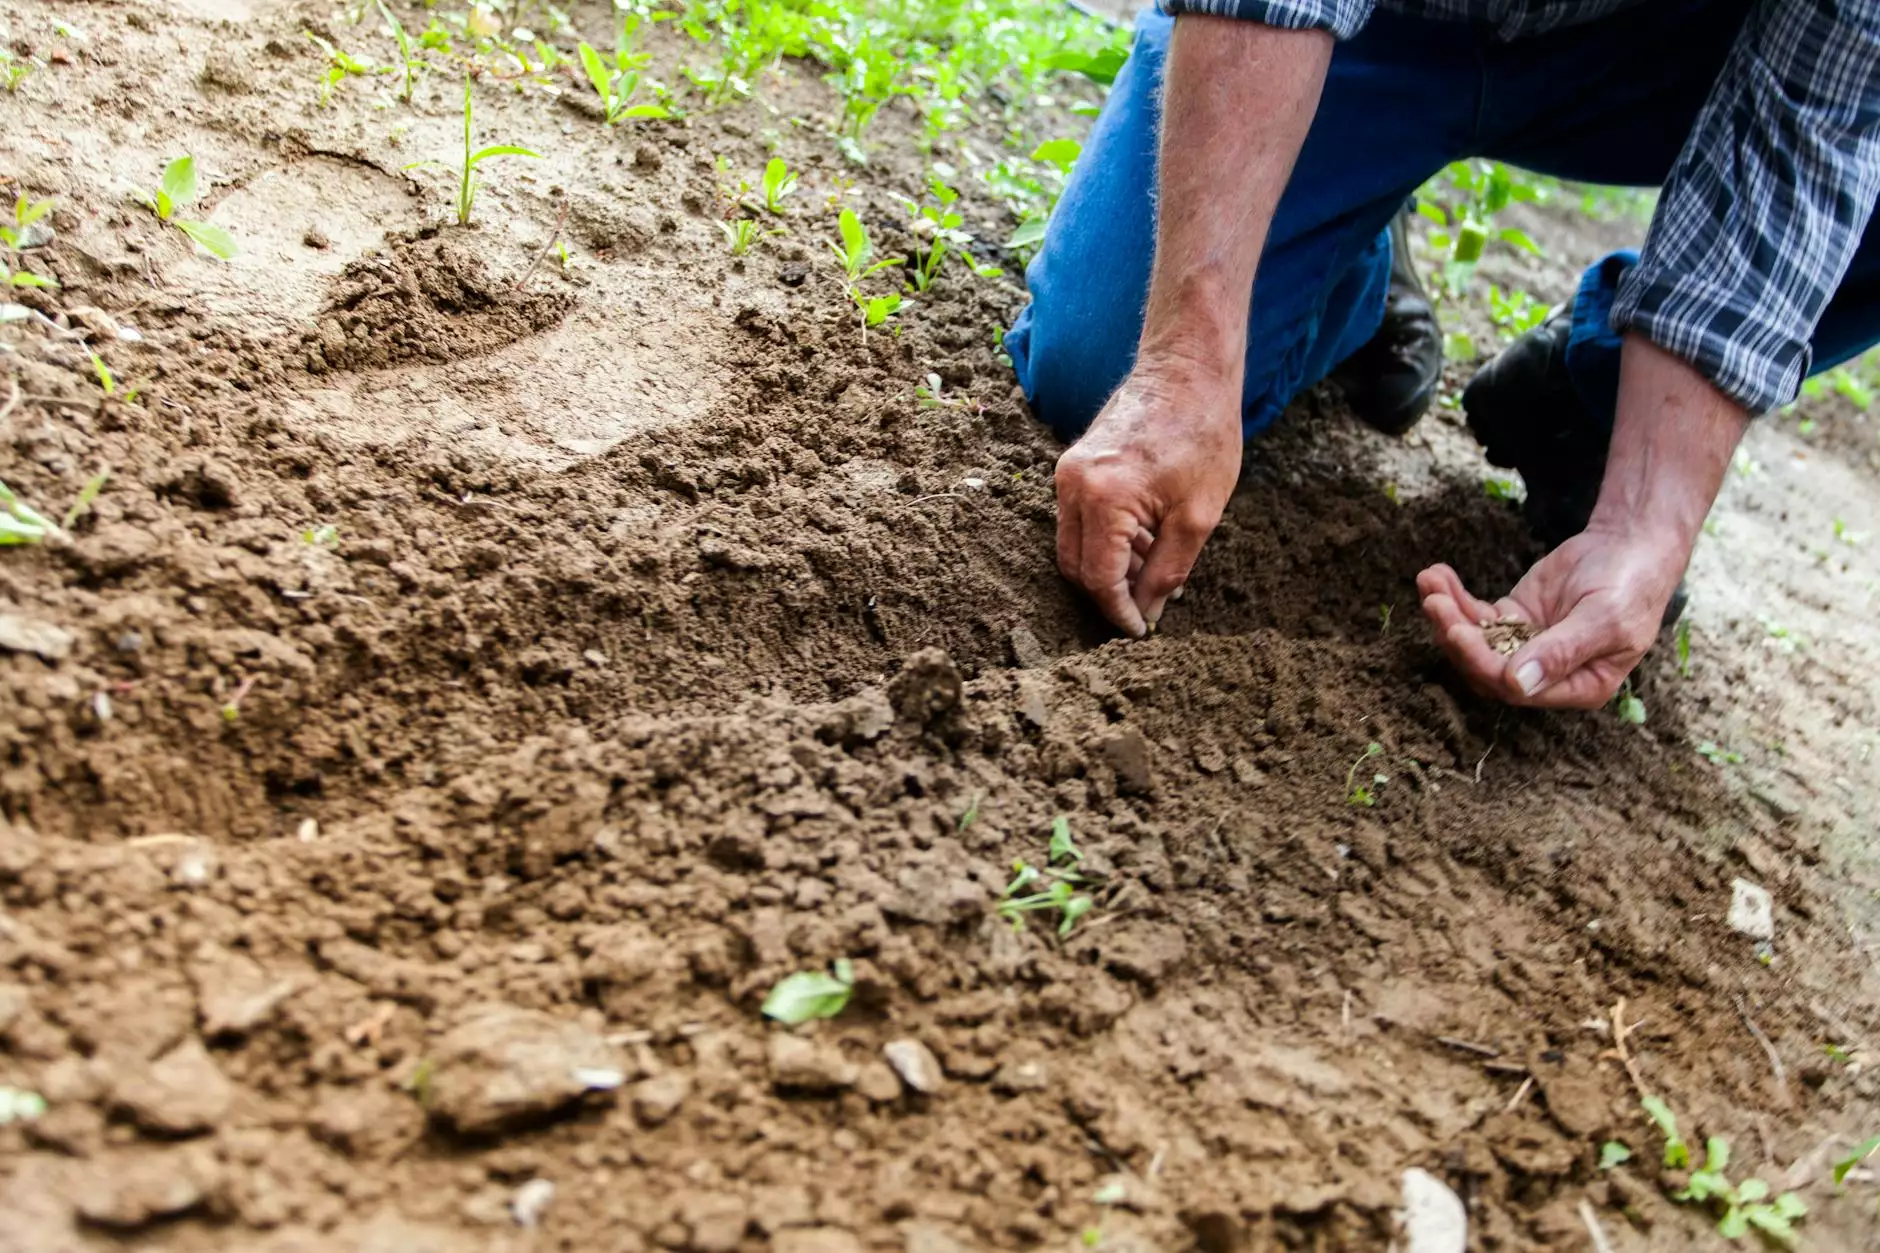
Before planting, prepare the soil within your low tunnel greenhouse. Remove any weeds or debris and amend the soil with organic matter or compost to improve fertility and drainage. Ensure the soil is well-watered and ready for planting.
Step 7: Start Planting
Now it's time to start planting! Choose crops that are suitable for greenhouse growing and align with your gardening goals. Consider factors such as temperature requirements, growth habit, and recommended spacing. Follow proper planting techniques and provide adequate care to promote healthy growth.
Step 8: Monitor and Maintain
Regularly monitor the conditions inside your low tunnel greenhouse. Check the temperature, humidity, and moisture levels to ensure they are within the optimal range for your plants. Water as needed, control pests or diseases promptly, and maintain proper ventilation to create a thriving greenhouse environment.
Conclusion
Congratulations! By following our comprehensive guide on how to build a low tunnel greenhouse, you are well on your way to creating a thriving and productive growing space for your plants. Remember to source high-quality materials and take your time during the construction process to ensure a sturdy and durable greenhouse. With proper care and maintenance, your low tunnel greenhouse will provide you with an abundance of fresh produce and a year-round gardening experience like never before.
© 2023 Metate Industrial Supply. All rights reserved.
Website: metateindustrialsupply.com


