Home Solar DIY - The Ultimate Guide to Solar Installation
Introduction
Welcome to HomeSolarDIY.com, your ultimate resource for harnessing the power of the sun! In this comprehensive guide, we will explore the world of solar installation, providing you with valuable insights, tips, and step-by-step instructions to help you integrate solar energy into your home and garden. Whether you're an environmentally-conscious homeowner or simply want to reduce your energy bills, this guide is for you!
Why Go Solar?
Solar energy has emerged as a viable and sustainable alternative to traditional power sources. Installing solar panels on your property offers numerous benefits both for the environment and your financial well-being.
Environmental Benefits
- Reduced carbon footprint: Solar energy is clean and renewable, producing virtually no greenhouse gas emissions.
- Conservation of natural resources: By relying on sunlight, we reduce our dependence on fossil fuels.
- Protection of ecosystem: Solar energy does not pollute water or harm wildlife, preserving our delicate ecosystems.
Financial Benefits
- Energy cost savings: Generating your own solar power can significantly reduce your monthly electricity bill.
- Government incentives: Many regions offer tax credits, rebates, and other financial incentives for solar installations.
- Increased property value: Solar-powered homes are increasingly desirable in the real estate market, leading to higher property valuations.
Solar Installation Guide
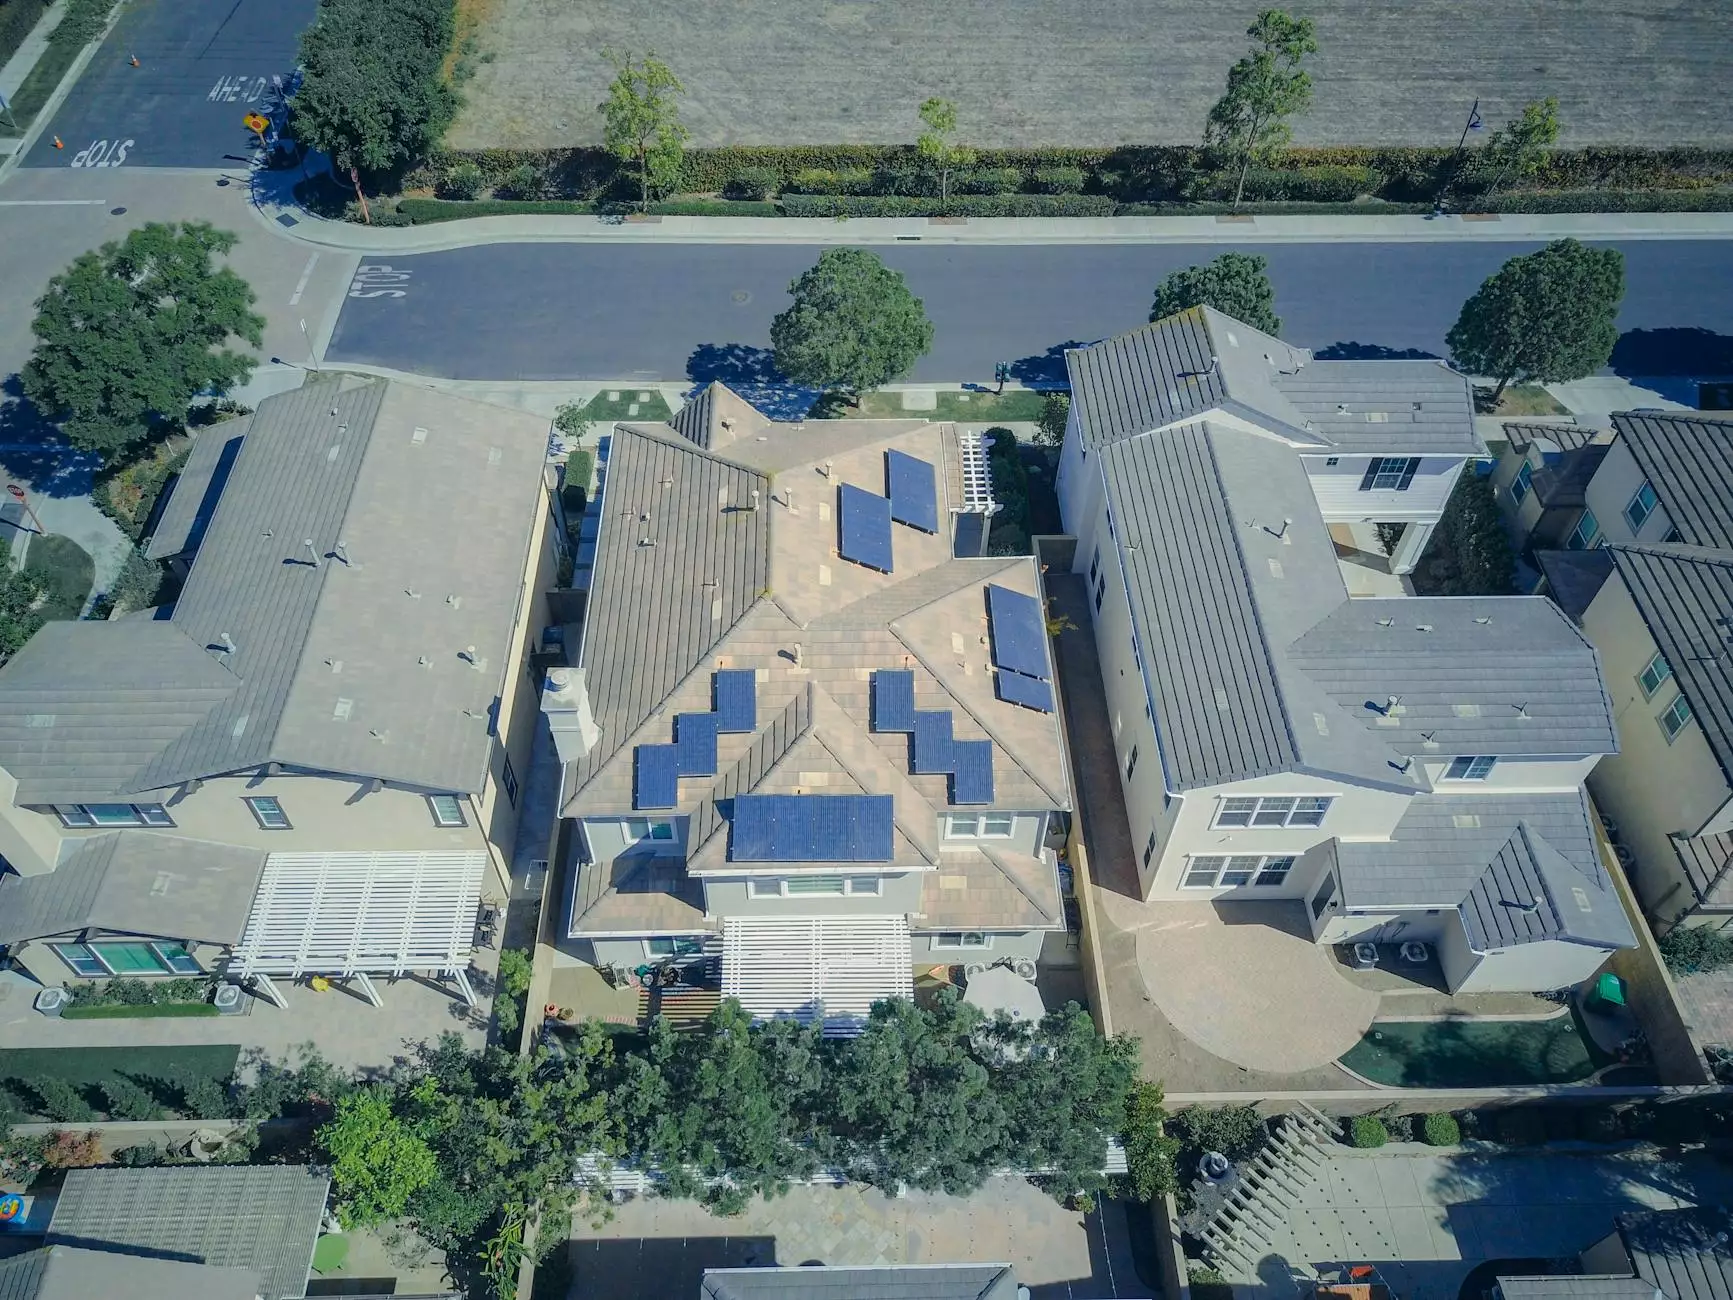
Step 1: Assess Your Home's Suitability
Before diving into the solar installation process, it's crucial to determine if your home is suitable for solar panels. Factors such as roof orientation, shading, and available space need to be evaluated. Conduct a thorough assessment or consult with a professional to ensure your home is ready for solar.
Step 2: Calculate Your Energy Needs
To determine the optimal solar panel system size for your home, it's essential to understand your energy consumption. Analyze your electricity bills to identify patterns and estimate the number of panels required to meet or offset your energy needs.
Step 3: Designing Your Solar System
Designing a solar system involves selecting the right components and positioning the panels for maximum efficiency. Consider the type of panels, inverters, batteries, and mounting options suitable for your specific requirements.
Step 4: Obtain Permits and Approvals
Before installing your solar system, you may need to obtain permits and approvals from local authorities or homeowners' associations. Check your local regulations and ensure compliance to avoid any legal setbacks.
Step 5: Installation and Connection
It's time to roll up your sleeves and start the installation process. Connect with a professional installer or gather the necessary equipment for a DIY approach. Follow all safety guidelines and connect your solar panels to your home's electrical system securely.
Step 6: Monitoring and Maintenance
Once your solar system is up and running, it's important to monitor its performance regularly. Keep an eye on energy production, check for any maintenance requirements, and ensure optimum efficiency for years to come.
Conclusion
HomeSolarDIY.com hopes this ultimate guide has shed light on the world of solar installation. By harnessing the power of the sun, you can transform your home into an eco-friendly oasis while enjoying long-term financial savings. Explore the various resources and tools available on our website, and embark on your solar journey today!